Download the Free Origami Doll Patterns and Kit!
If you'd like to make some origami dolls of your own, feel free get them sent to you via email! The printable files are included in a zip and rar format. Individual images and a pdf version is provided. Happy crafting!
Thank you!
Be sure to check your email! The files should be sent to you! ✨
Are you a librarian, educator, or parent and are looking for a great activity for kids who are crafty anime fans? Or are you a crafter just wondering how to create these adorable little origami paper dolls? Well, we sure have the perfect activity for you! This is a relatively easy craft to introduce to kids of most age ranges (ages 5 and up) and requires little to no extra supplies besides patterned paper, colored paper, glue/tape, and any kind coloring supplies.

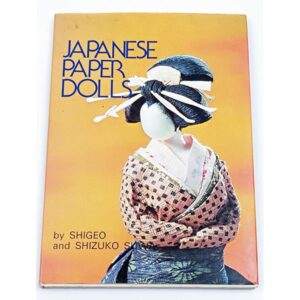
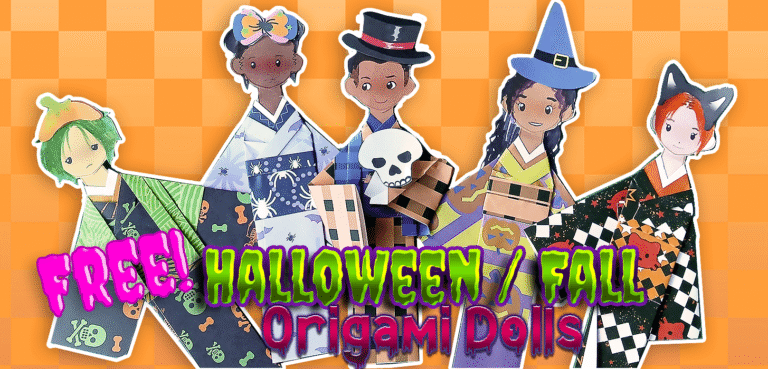
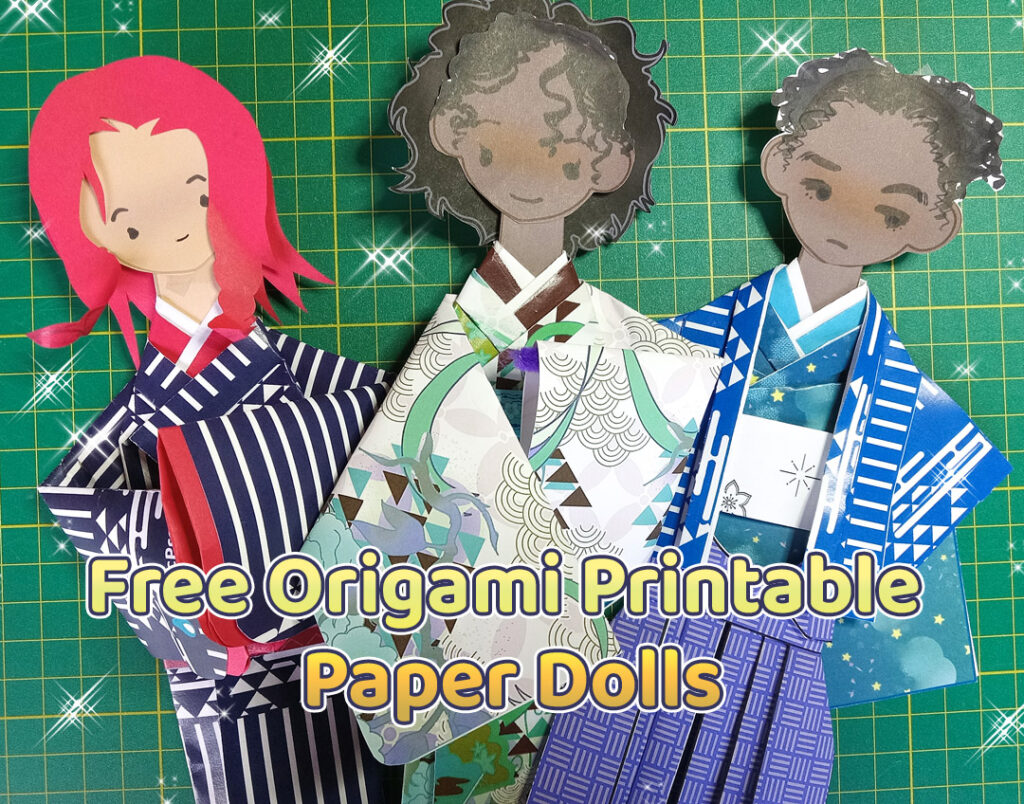
These origami paper dolls are called washi paper dolls. Washi is a Japanese mulberry paper most commonly used for origami, but is used for all kinds of traditional Japanese crafts. The paper is very flexible and can even be used to make three-dimensional washi dolls. For this craft, however, we’ll be making flat washi dolls, which are sometimes referred to as origami paper dolls.
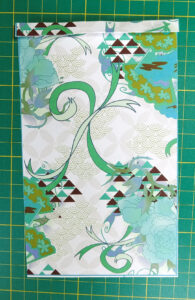
Obviously, you probably don’t have washi paper at home or your facility, which is absolutely fine for this particular craft! Feel free to use any kind of paper you may have, but patterned paper would be the best.

I originally started doing this craft at the library as an anime club activity, but it caught on really well with the younger crowd rather than the teens. When I first did it, I gathered some free scans of origami paper and printed them out, then pre-cut all the paper to the correct sizes. I also used some of my downtime to pre-cut all the bodies and heads. As you can probably guess, this took sooo much time, but having everything prepared was so much more convenient, especially if the participants were much younger than expected. Then, once the activity began, I let the kids choose their preferred skin color, their outfit pattern (along with the sleeves), a haori jacket, hakama pants, and their hairstyles of choosing. If you download the origami paper and activity kit, however, all the patterns and templates are easily available for preparation. If you prefer using construction, scrapbooking, or colored paper, or even magazine paper, feel free to do that and get as creative as you desire!
This is a really fun craft to do with kids! I also was able to do this with little ones who weren’t familiar with anime or Japanese culture, so I had some questions as to why their arms were so large. I showed them some pictures of kimonos and explained that this is a traditional outfit in Japan. Some children chose to use the traditional sleeves, and some kids ended up folding the sleeves in half to make skinnier sleeves. It was so fun to see how creative they ended up getting with their dolls. ✨🌟
Supplies Needed
There’s not very much you need for this project, but as for supplies:
- A printer
- Suitable paper for your printer: a regular weighted paper like copy paper is preferred for the clothes. If it’s thick like cardstock, you will have a hard time folding. Cardstock for the body, hair, and face is fine if you want the body to be stiff.
- An adhesive of some kind, like double sided tape, office tape, or glue. (Personally I like to use double sided tape and office tape.)
- Scissors
Optional:
- Paper trimmer (to cut out the straight edges)
- Pipe cleaners (if you want to make the arms moveable)
- Colored paper or construction paper
- Ribbon or yarn (for the obijime or haori himo)
- Any other decorations like gemstones, stickers, and etc
Instructions
Now, onto the instructions!
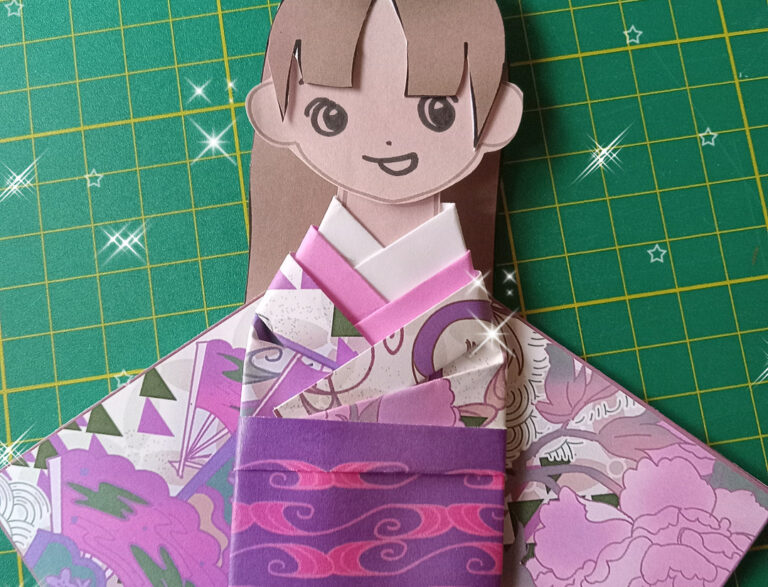
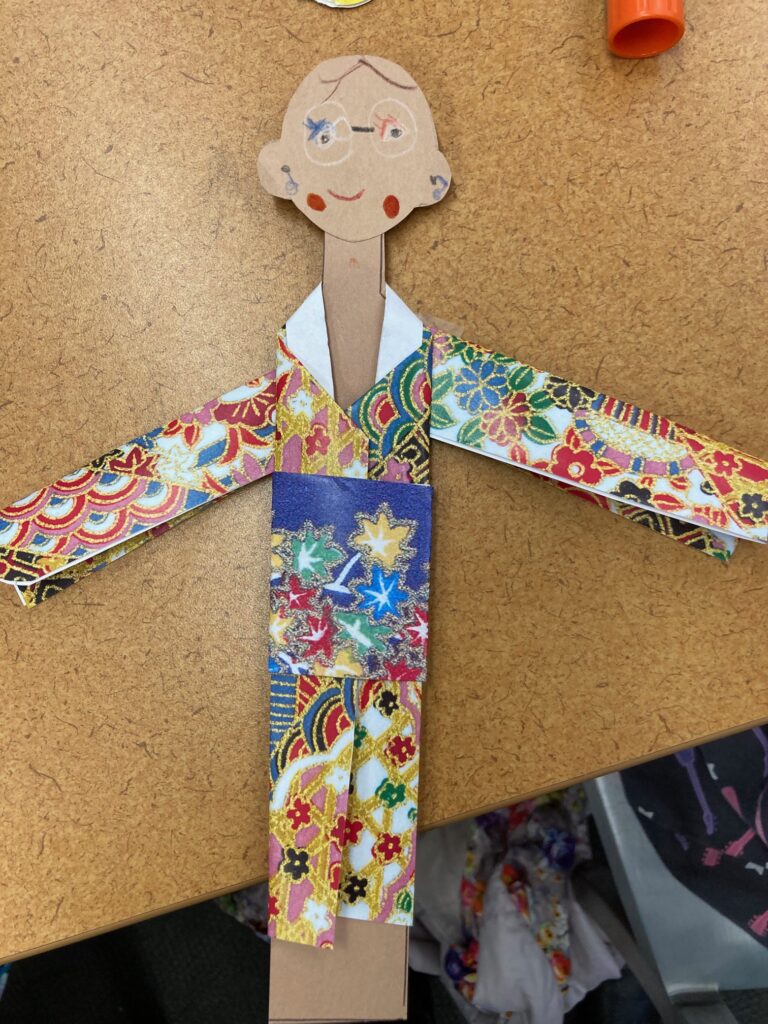
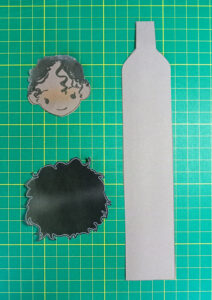
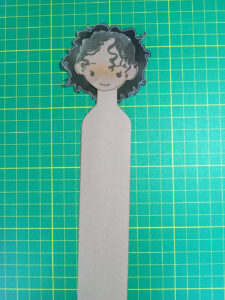
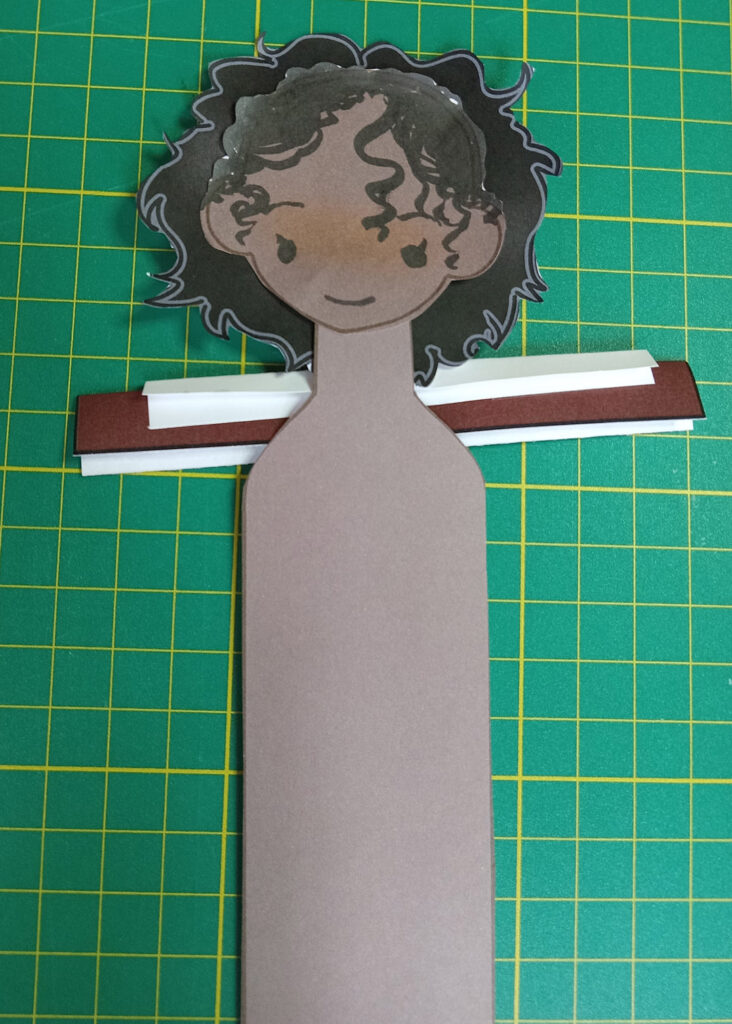
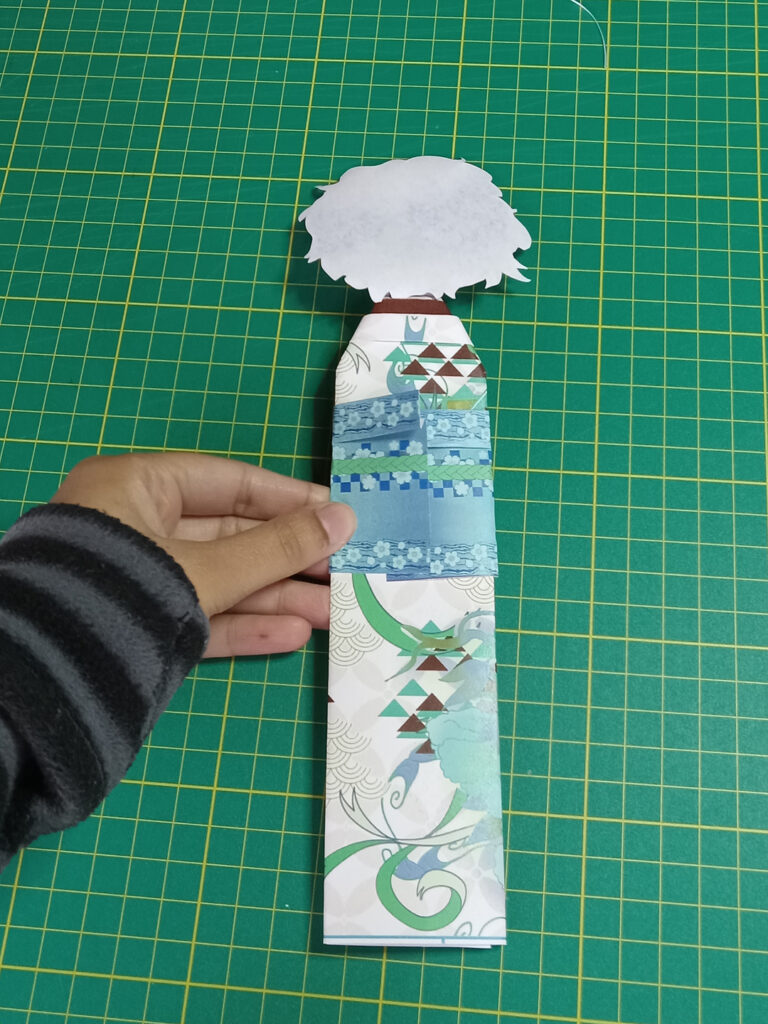
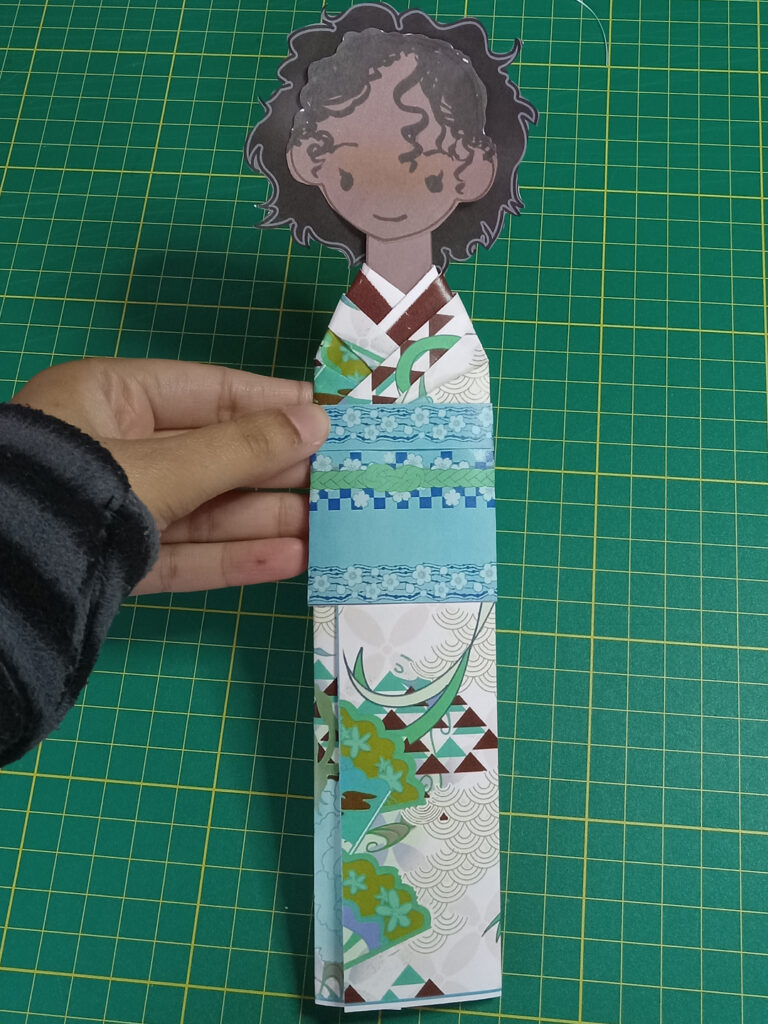
The first thing you want to do is cut out your doll base and the head. Glue or tape the head onto the neck, and then decorate the face however you please.
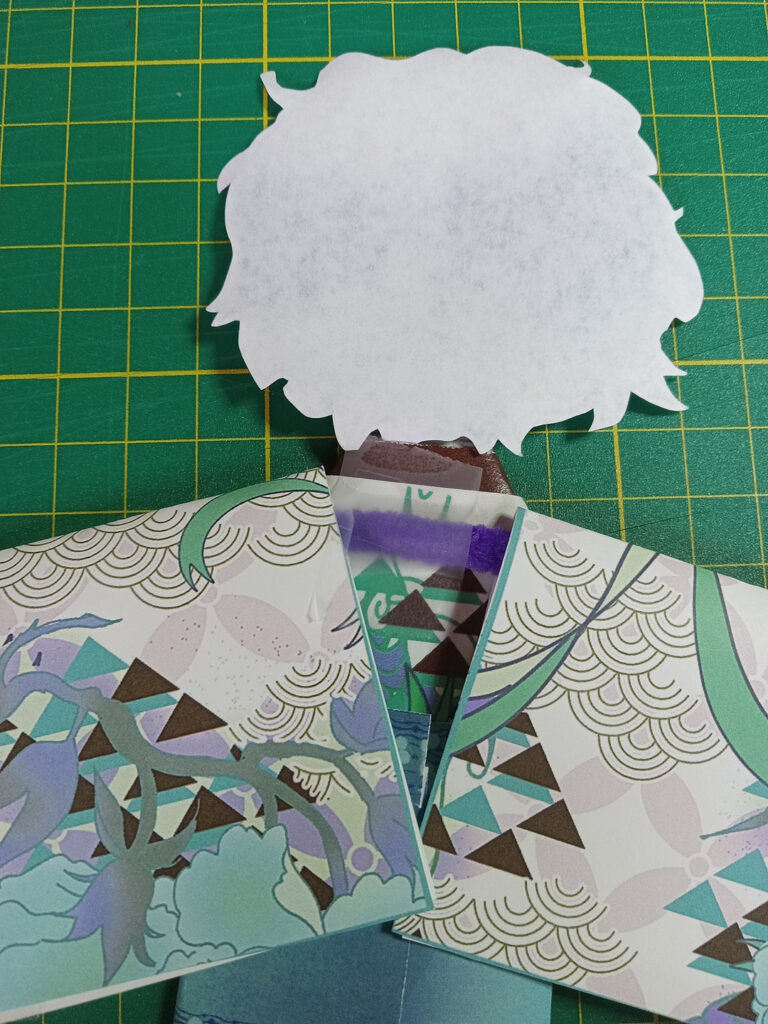
The next thing is the hair. In the free kit, there are a few hairstyles and color variations, although you can always trace them onto construction paper or freestyle any kind of hair of your own. Glue the longer hair piece to the back, and then the hair to the front.
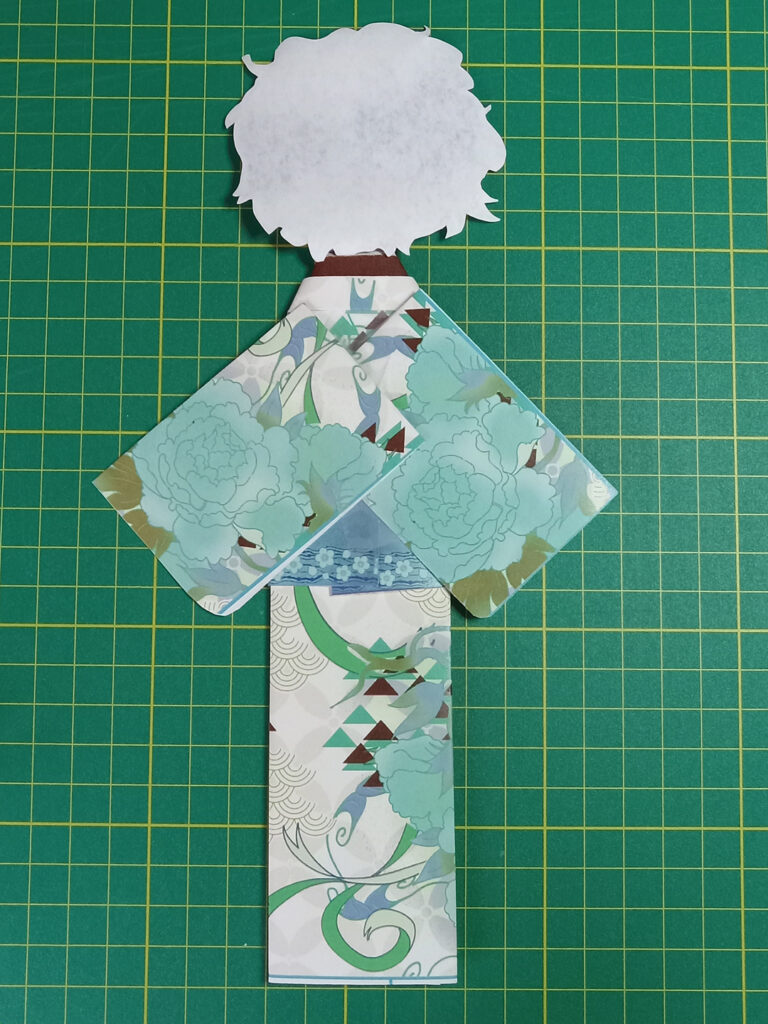
Basic Kimono

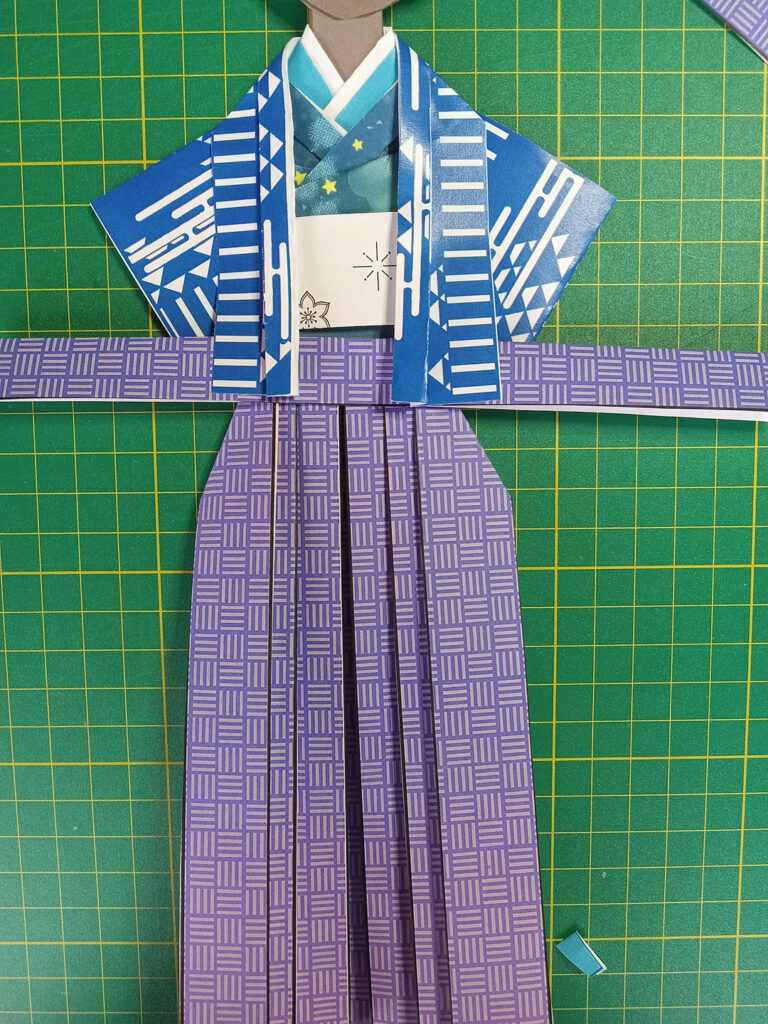
Now onto the kimono! Now, there’s a few different variations we can make.
The first one is the basic and easiest kimono, which can either be a yukata (short sleeves) or a furisode kimono (long sleeves). The short sleeves are included with the kimono page, but the long sleeves have to be printed out separately due to the size.
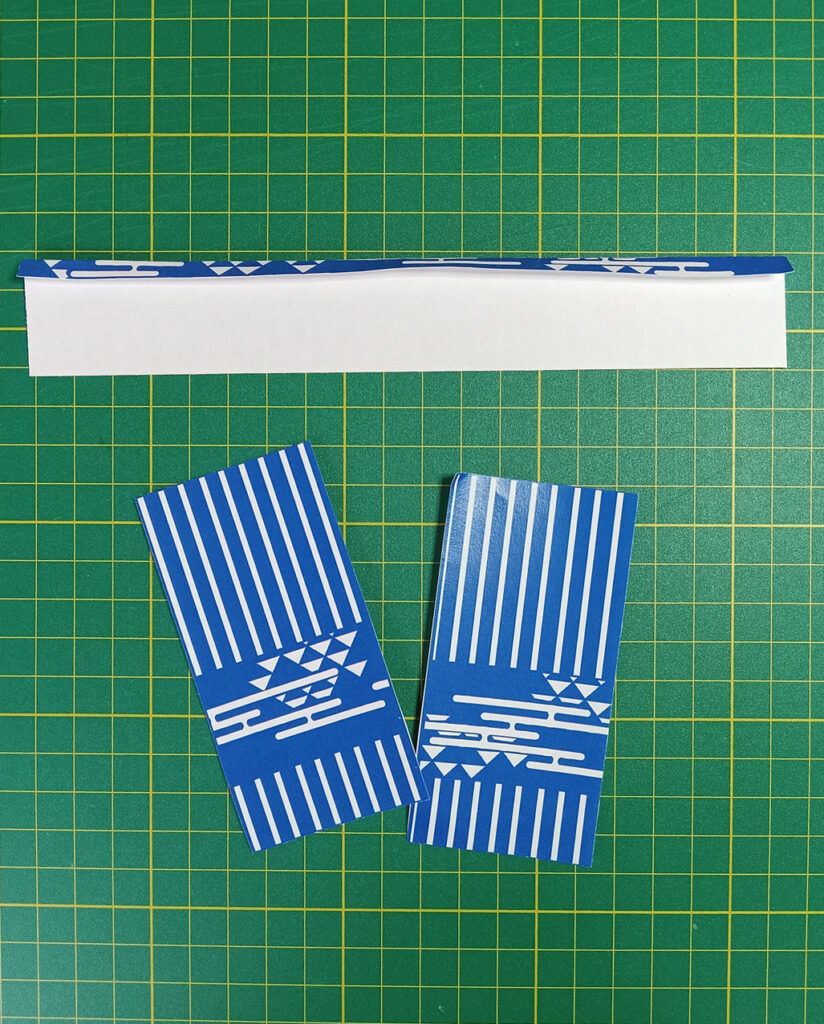
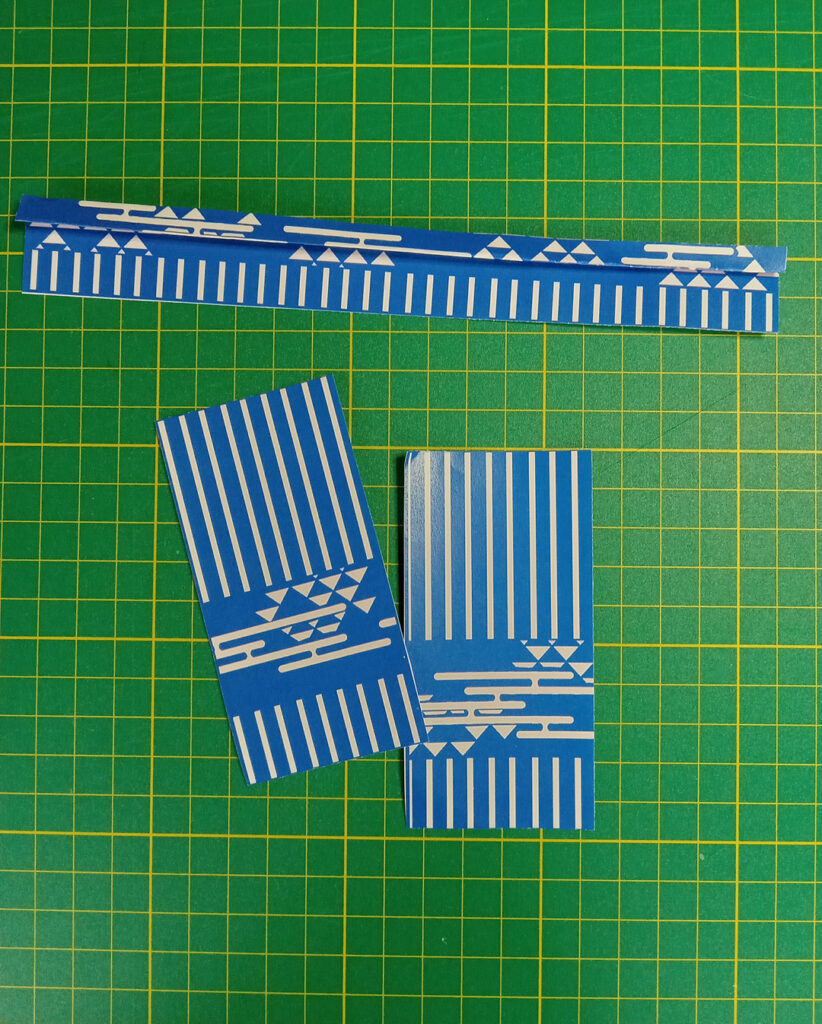
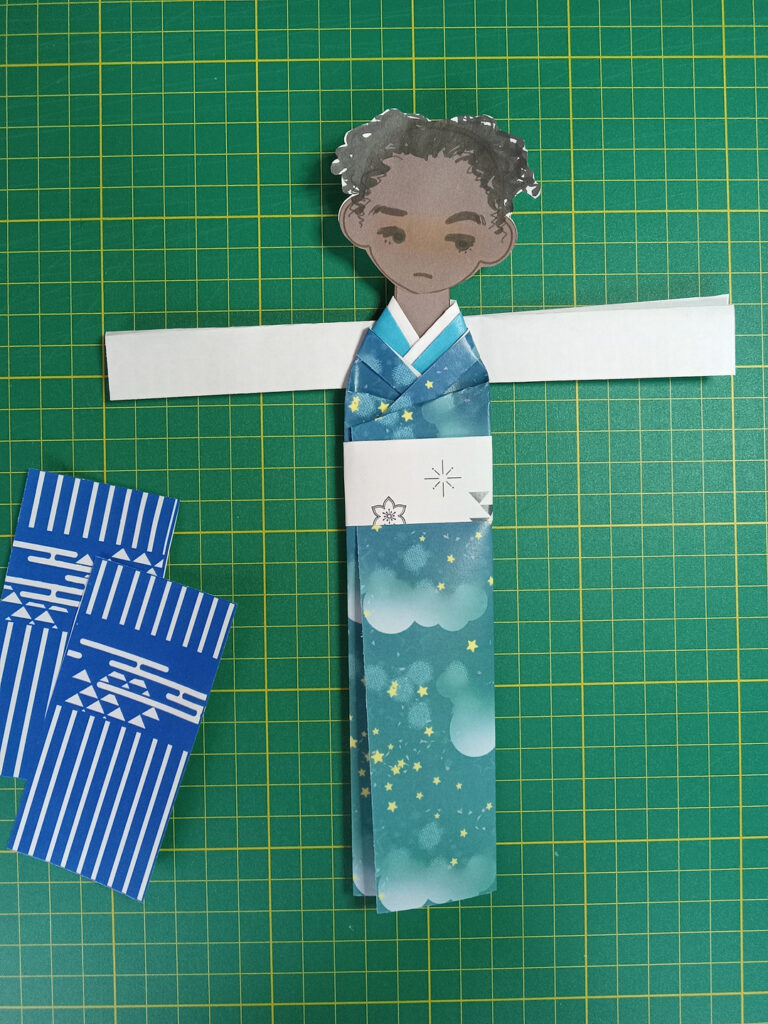
With the kimono you always want to make sure you fold a long piece of paper to use with the collar. This gives the illusion of another kimono layered underneath.

Then take out the properly sized rectangle for a kimono (4.5 in x 8 in). Next, turn the paper over to the back side, then fold a small, half an inch sized fold evenly down. Turn it over again, then fold the same sized fold. Now, you’ve got your kimono’s collar.
Then, flip the paper over to the back side, and glue or tape your base off center in the page. You want it placed a little more towards the left side.
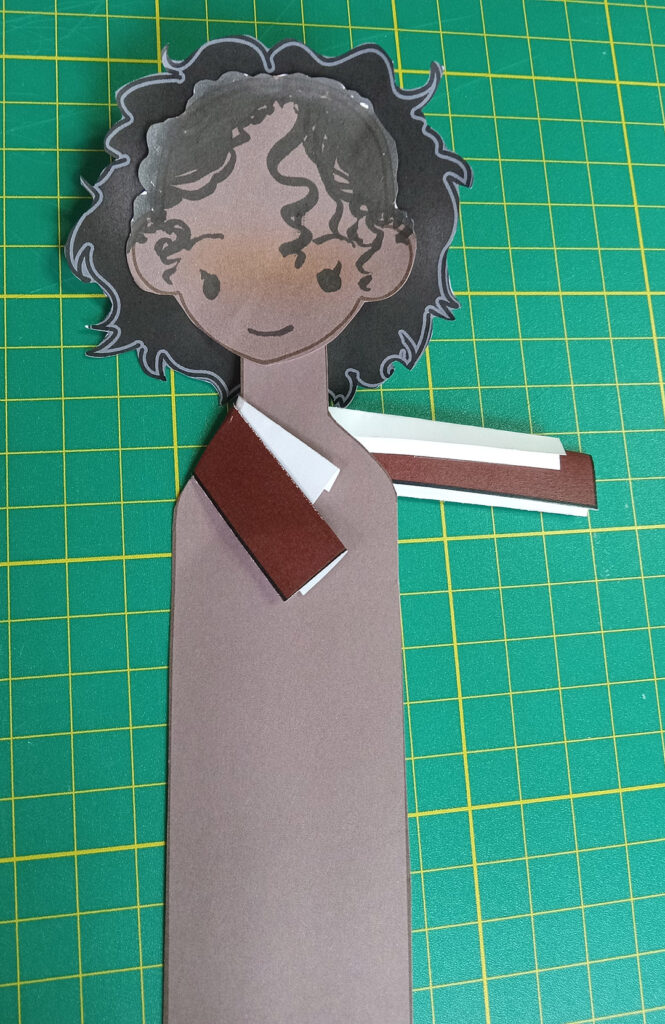
The next step might be a little tricky, but it becomes easy once you get the hang of it. Take the left corner of your rectangle and fold it in an angle, over top of your doll’s shoulder. Place a finger or thumb on that corner, then, right where the corner of that shoulder meets, pull the rest of that paper over it, so that you can get the rest of that flap aligned straight. It doesn’t have to be perfectly straight, but just enough so that you can cover one side of the body. If you’re doing this with younger kids, the best way I found to explain it to them is to fold it over like you’re putting a jacket on the doll.
Afterwards, just repeat the same step on the other side. The kimono is done!
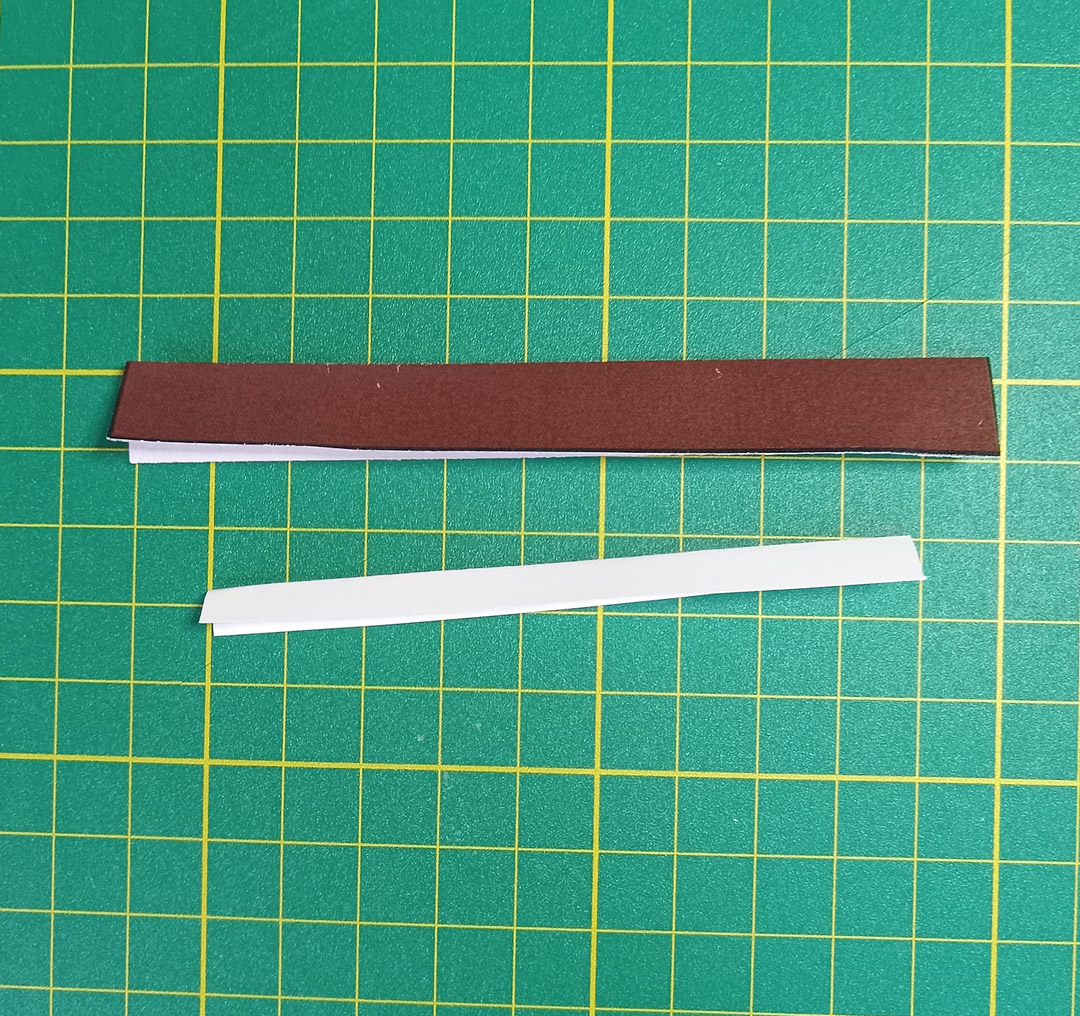
The next thing is the obi, which is almost like a belt that goes over your kimono. We do have a template for the obi if you need one, but it is simply a 4.5 in x 2.5 in piece of paper. This is optional, but I like to fold the top of it, just like we were folding the collar for the kimono. This adds a little dimension to the obi, and also mimics the padding that is sometimes added underneath the obi.

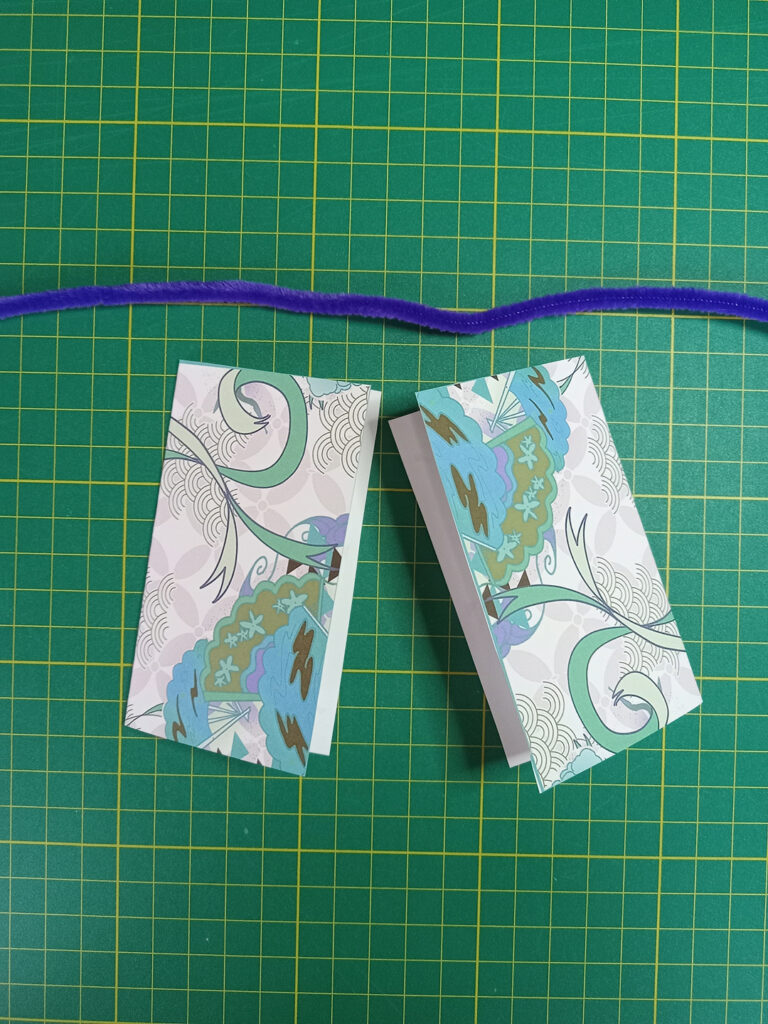
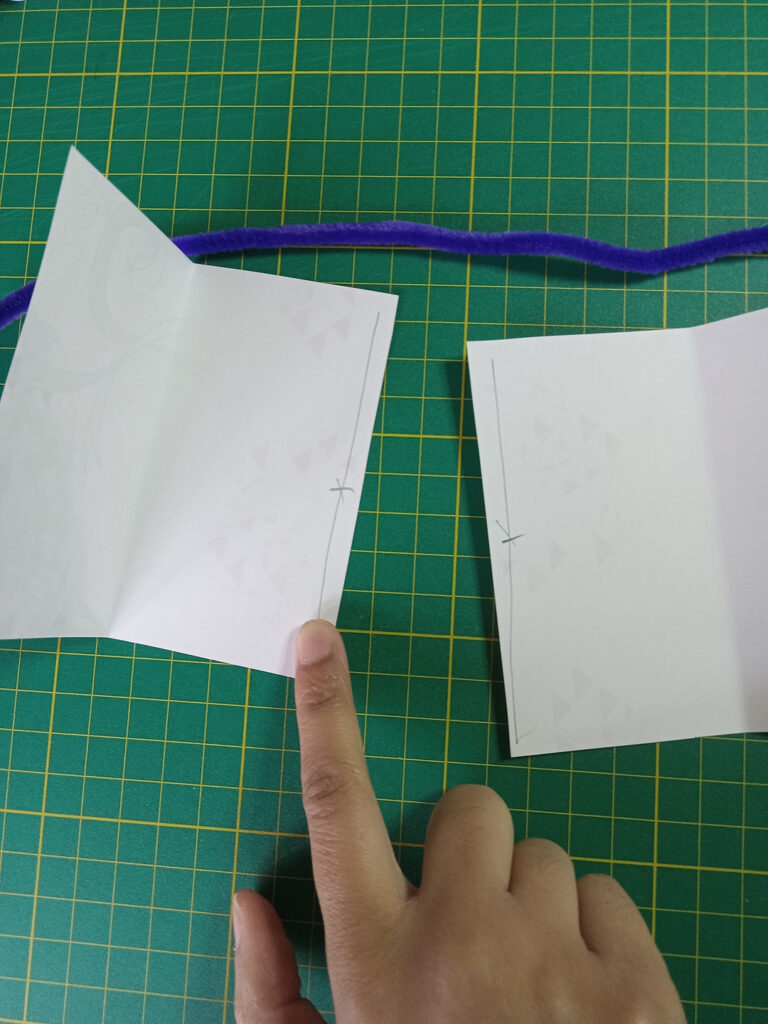
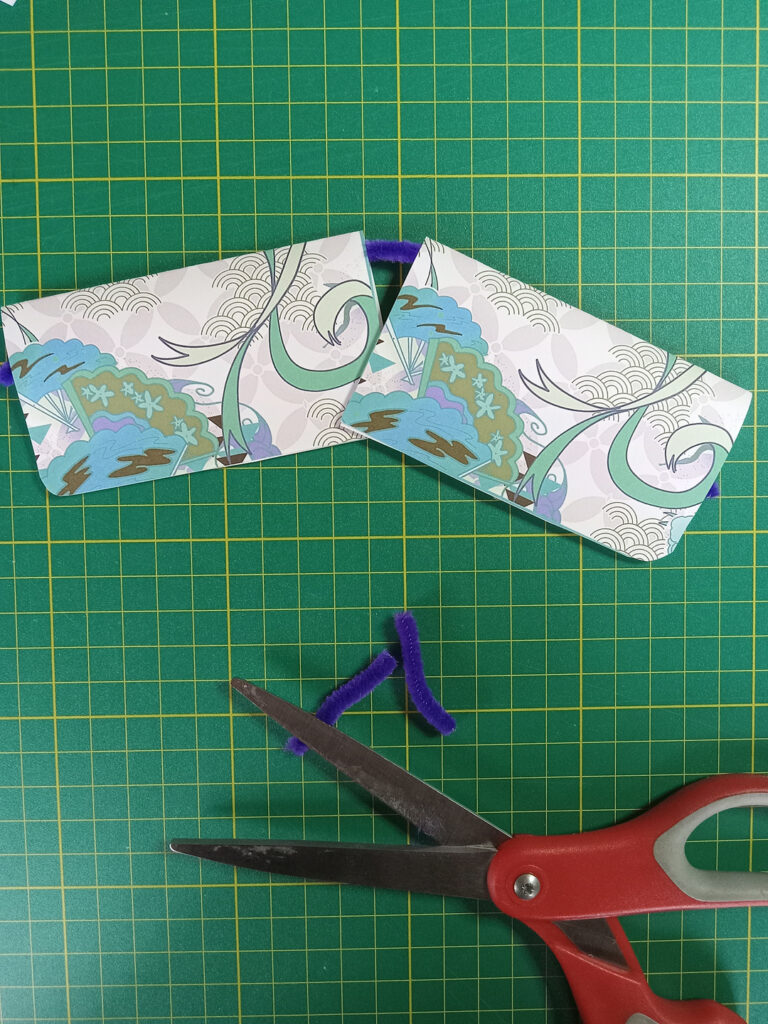
Then, you want to fold the sleeves in half, then tape them to the back of the kimono. You can make long sleeves or shorter sleeves. You can even get creative and fold some of the sleeves over, as if the arms are moving.
Lastly, you can also make a thin and simple obi that is commonly worn by men. To do this, fold your obi in half and tape it around the doll. Lastly, to make the knot, take a very small strip of paper and fold it in half in an angle, then underneath to form a sort of trapezoid shape, and lastly, stick the loose strip into the fold to create a knot. You can glue or tape this knot to the back.

Make Moving Arms
This is a totally optional step that requires pipe cleaners or a wire. Basically, you want to tape down the sleeves (either with rolled up tape or double sided tape) and close up the opposite side of the fold. Take your pipe cleaner and fish it through the two sleeves. Leave about a half an inch in between the two sleeves, then cut off any excess pipe cleaner. Tape the pipe cleaner opening on the back, and then your sleeves should be able to move.
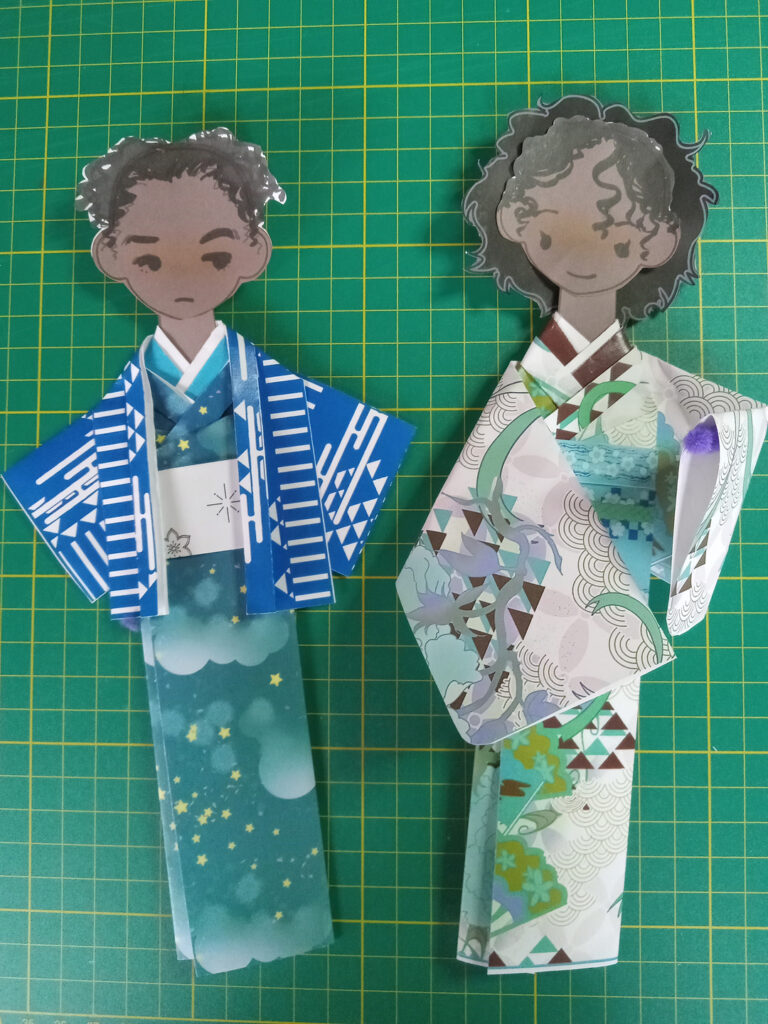
Haori (Jacket)
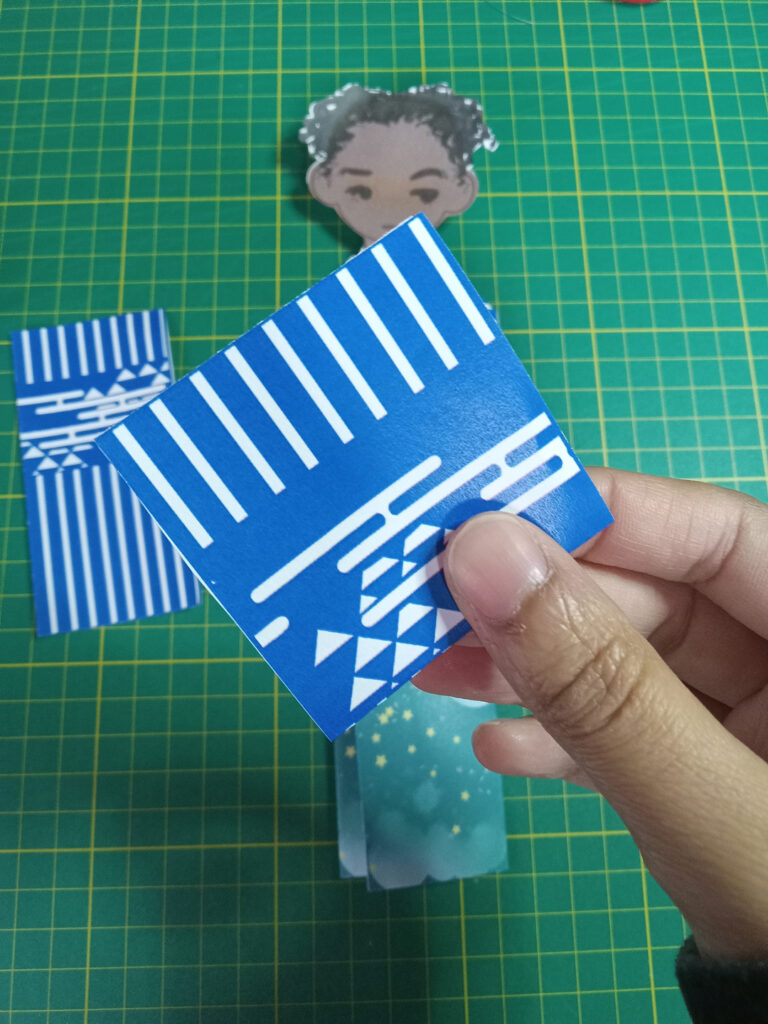
The next variation you can try, is that you can also put a jacket on the kimono, which is called a haori. Start out by folding the skinny patterned strip at the top, then flip it over again to make the collar of the haori. Then, flip it over to the white side. Find the middle of the strip and place your doll right in the middle. Then, simply fold over the strip so that it drapes the shoulders like a jacket. You can tape or glue to secure it.
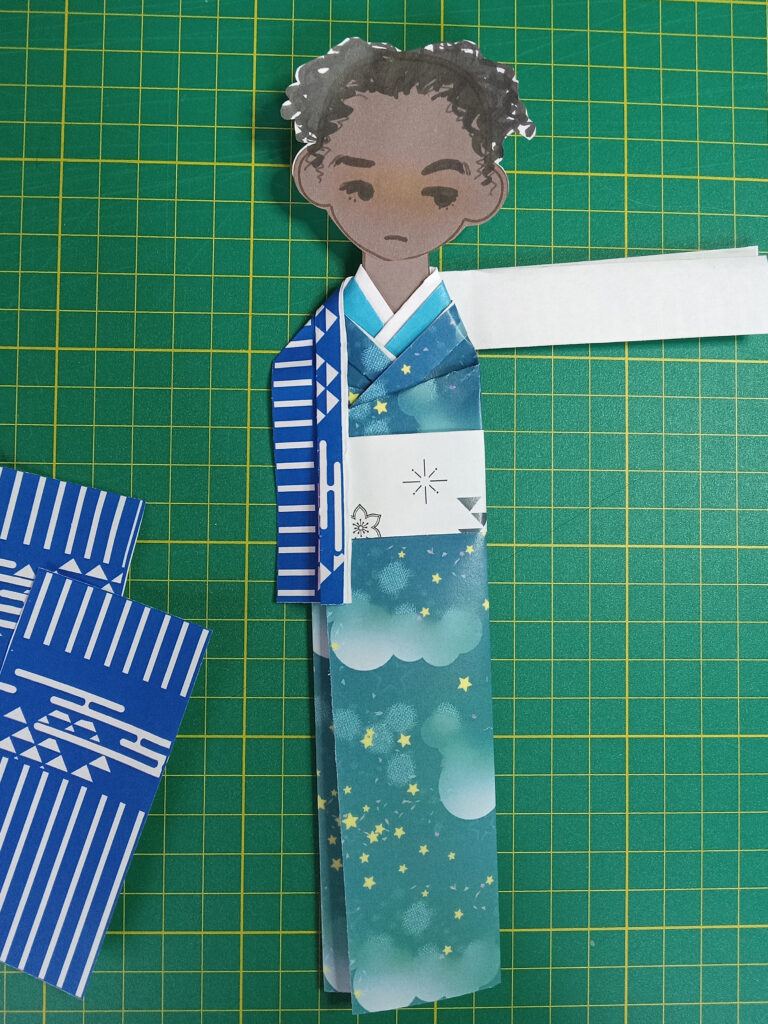
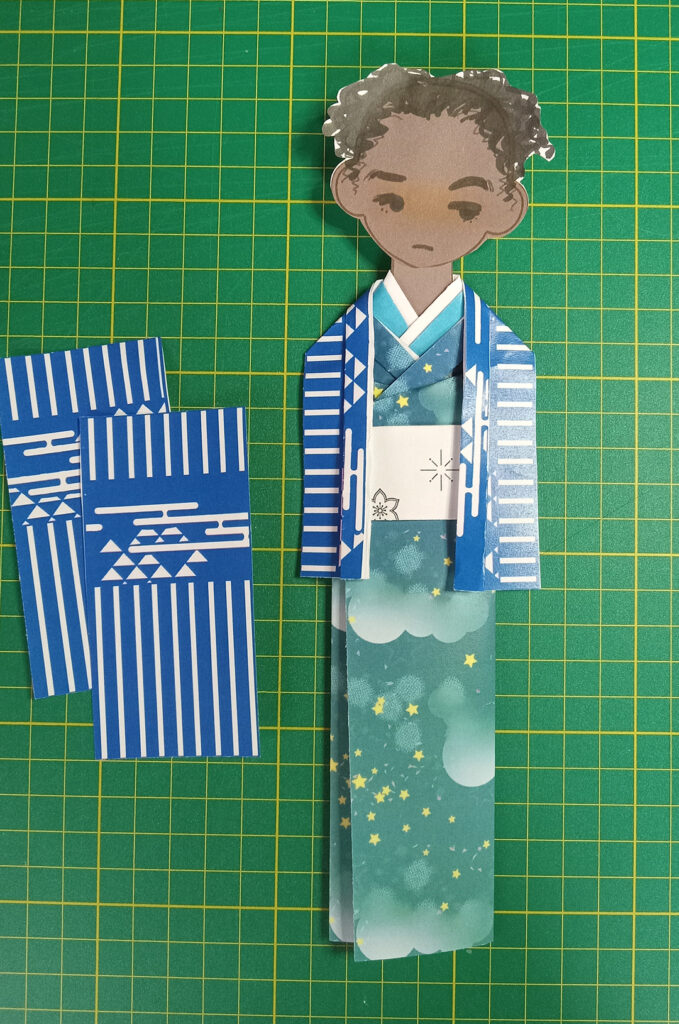
Lastly, take your matching sleeves, fold them over, then glue them to the back.
Then, you’re all done!
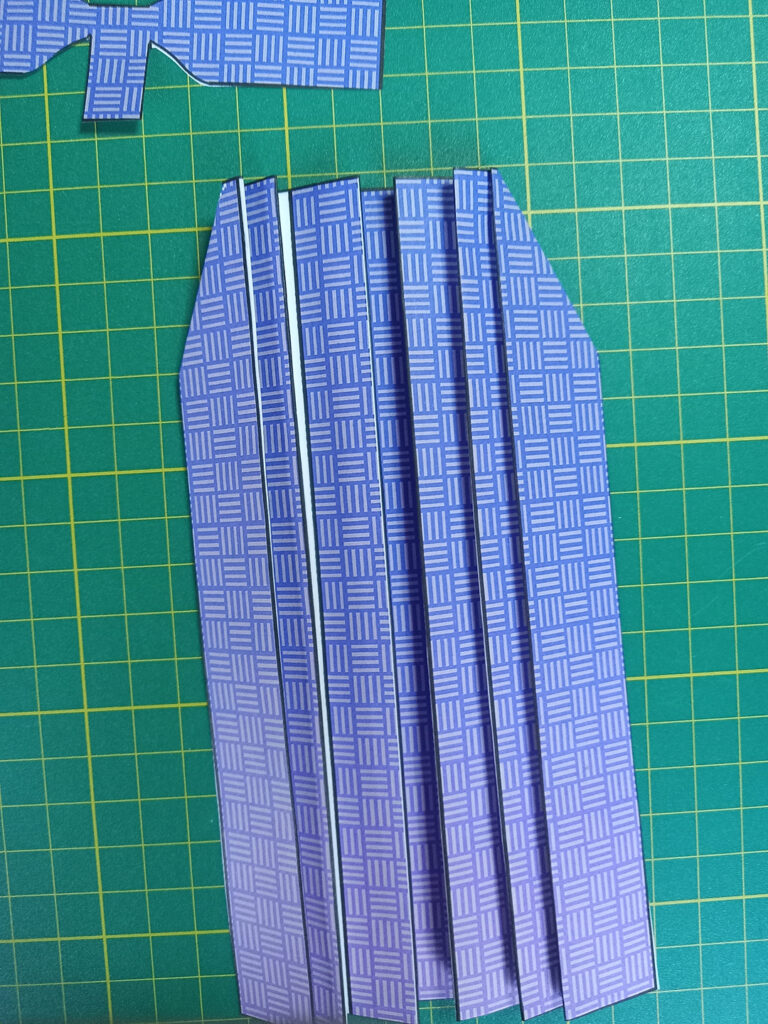
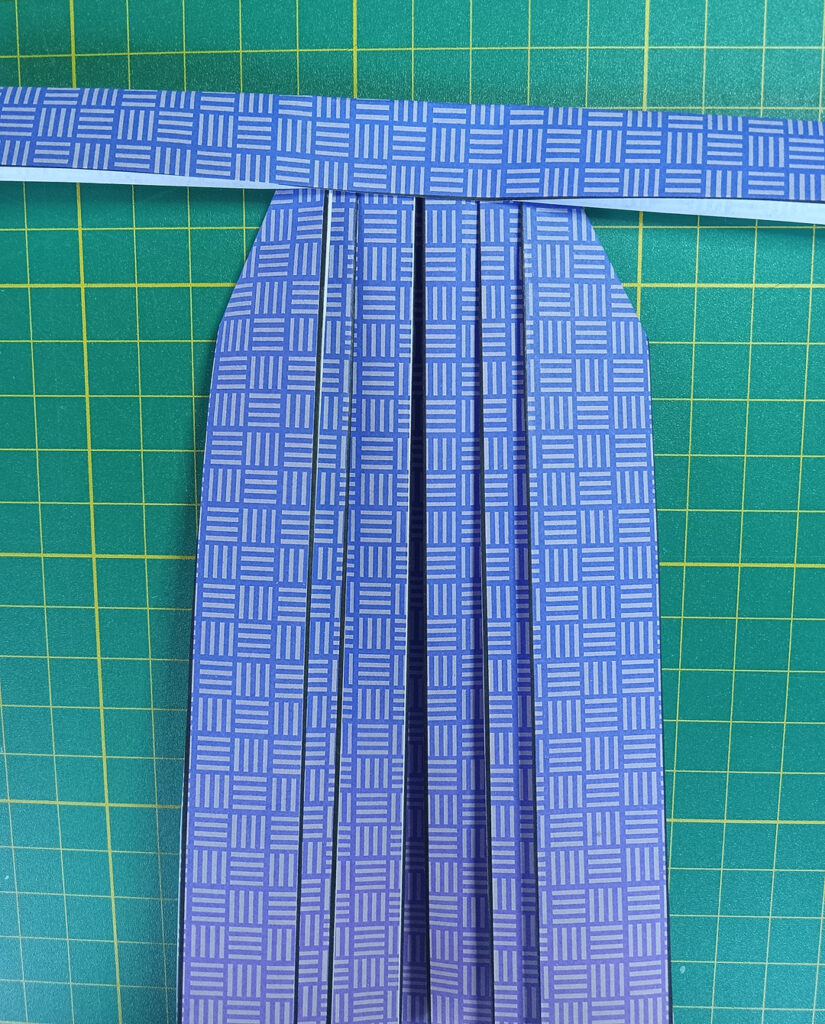
Hakama (Pleated Pants)
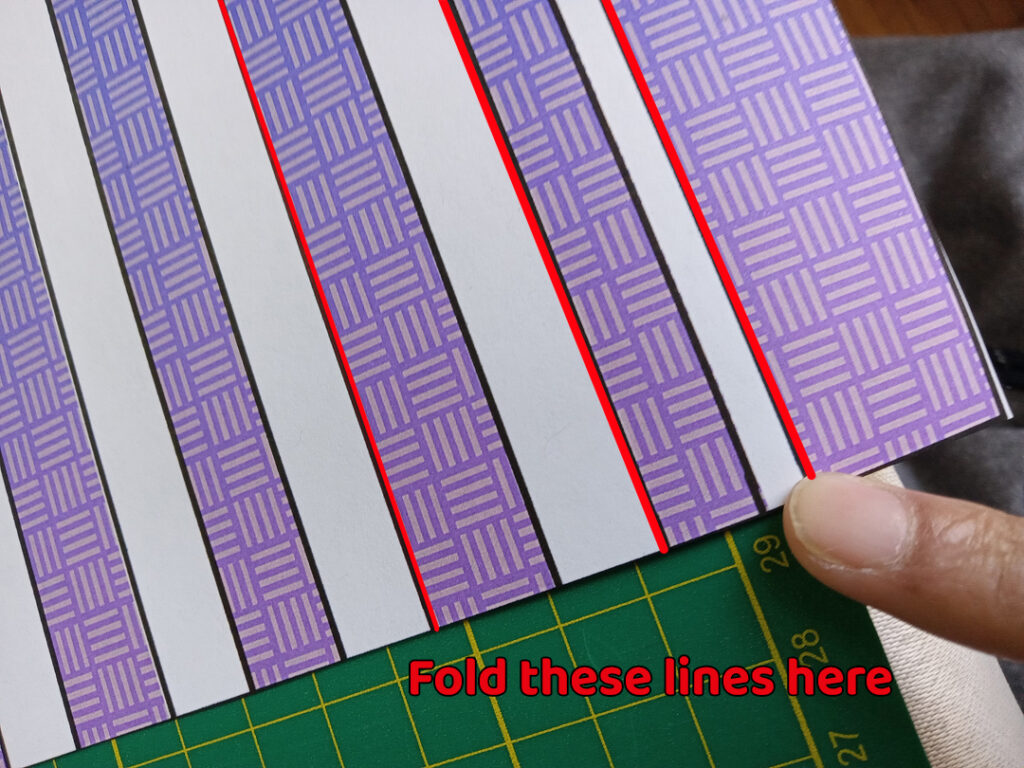
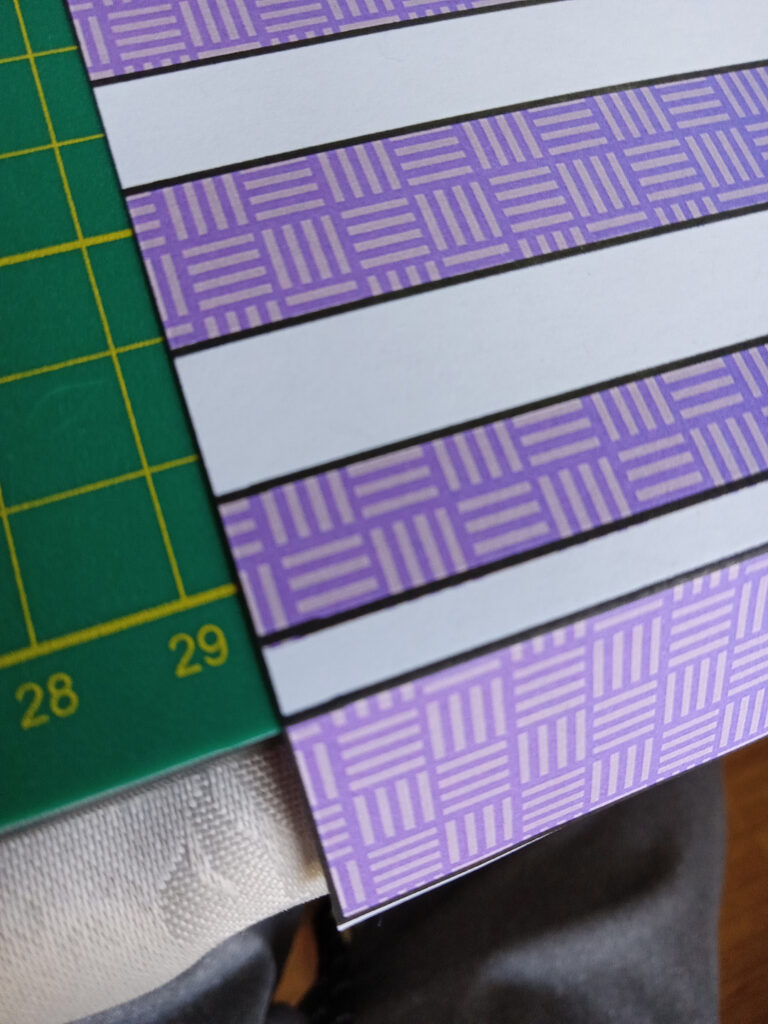
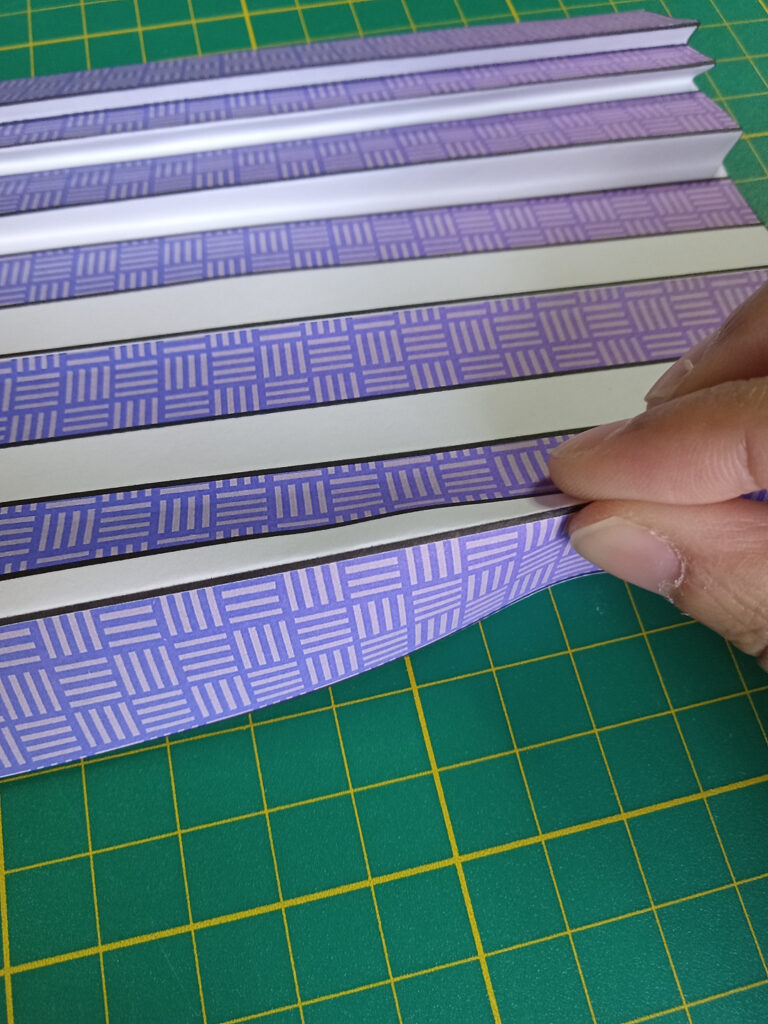
Then, the last variation is to put hakama pants on the bottom. They are a bit difficult to make, but samurai enthusiasts will definitely be excited by it!
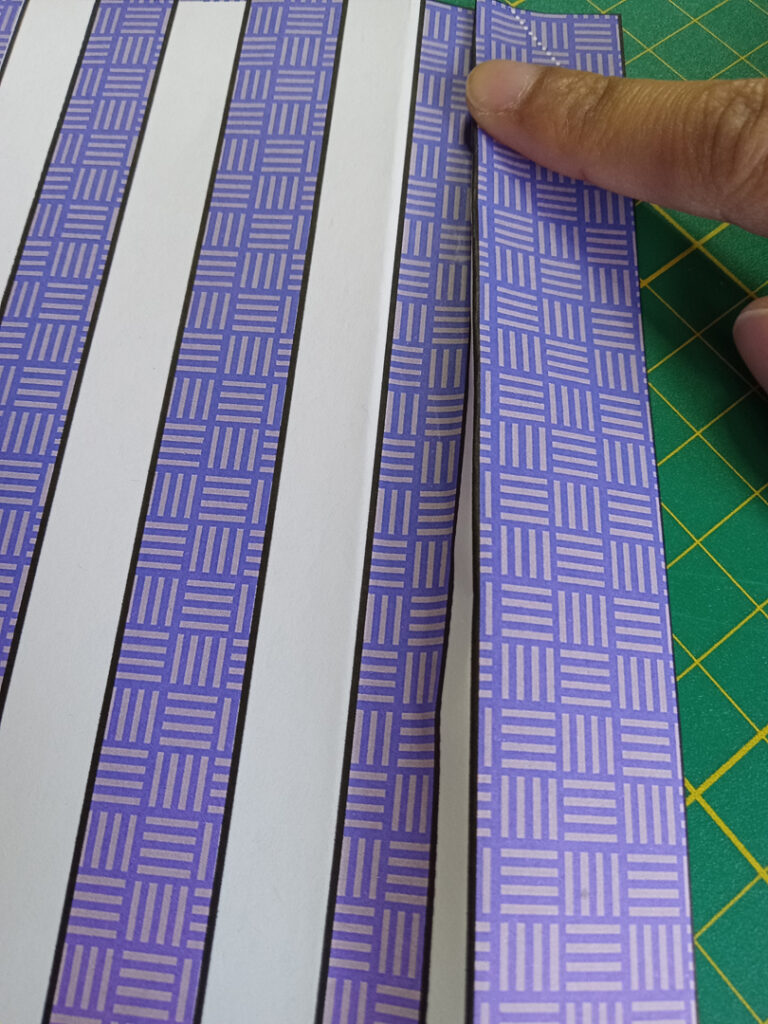
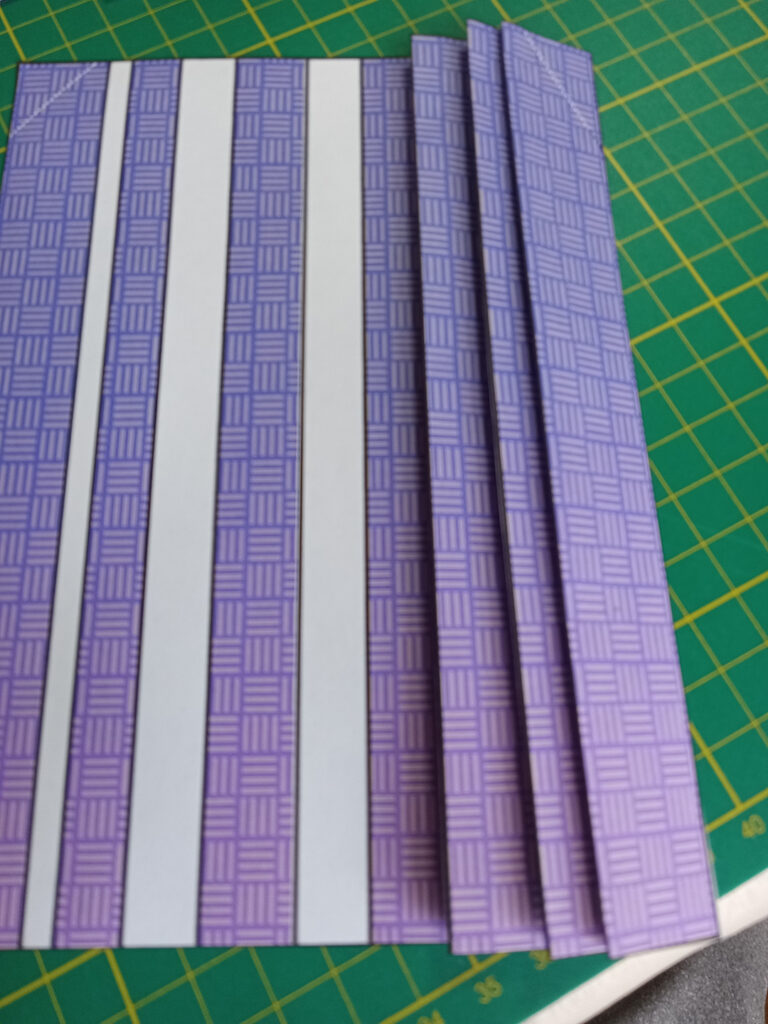
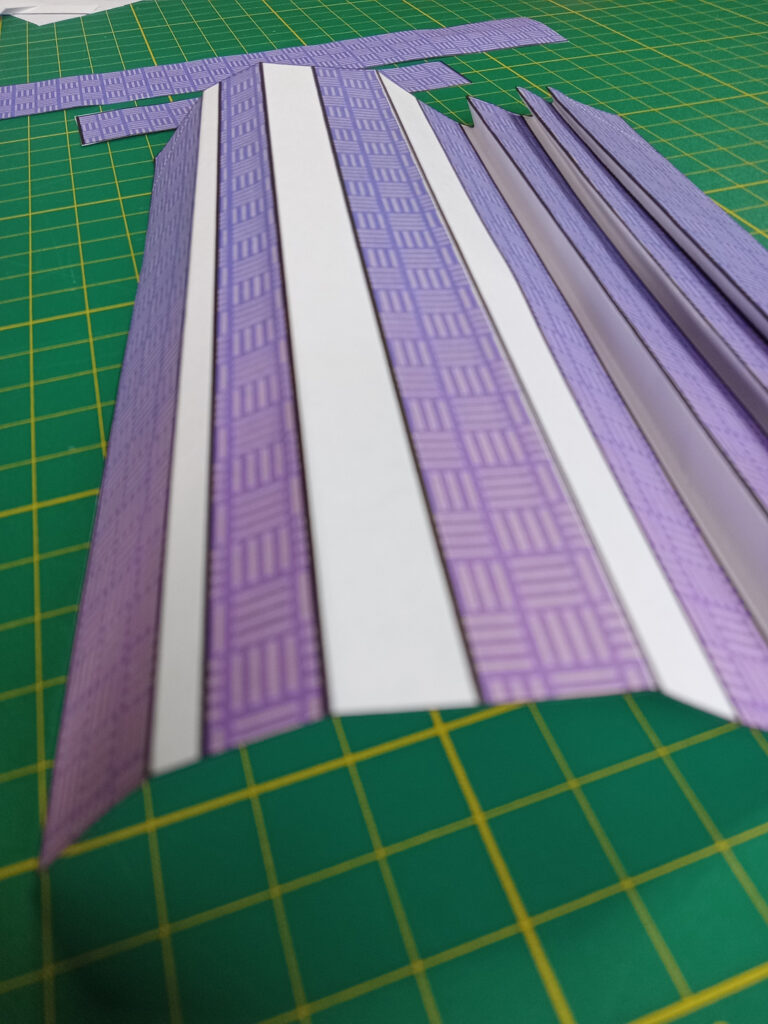
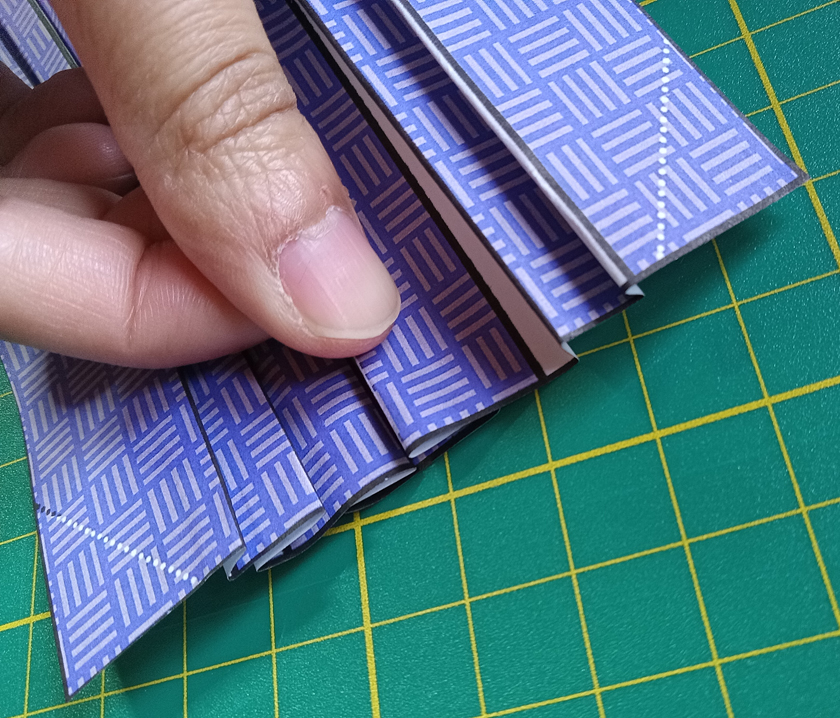
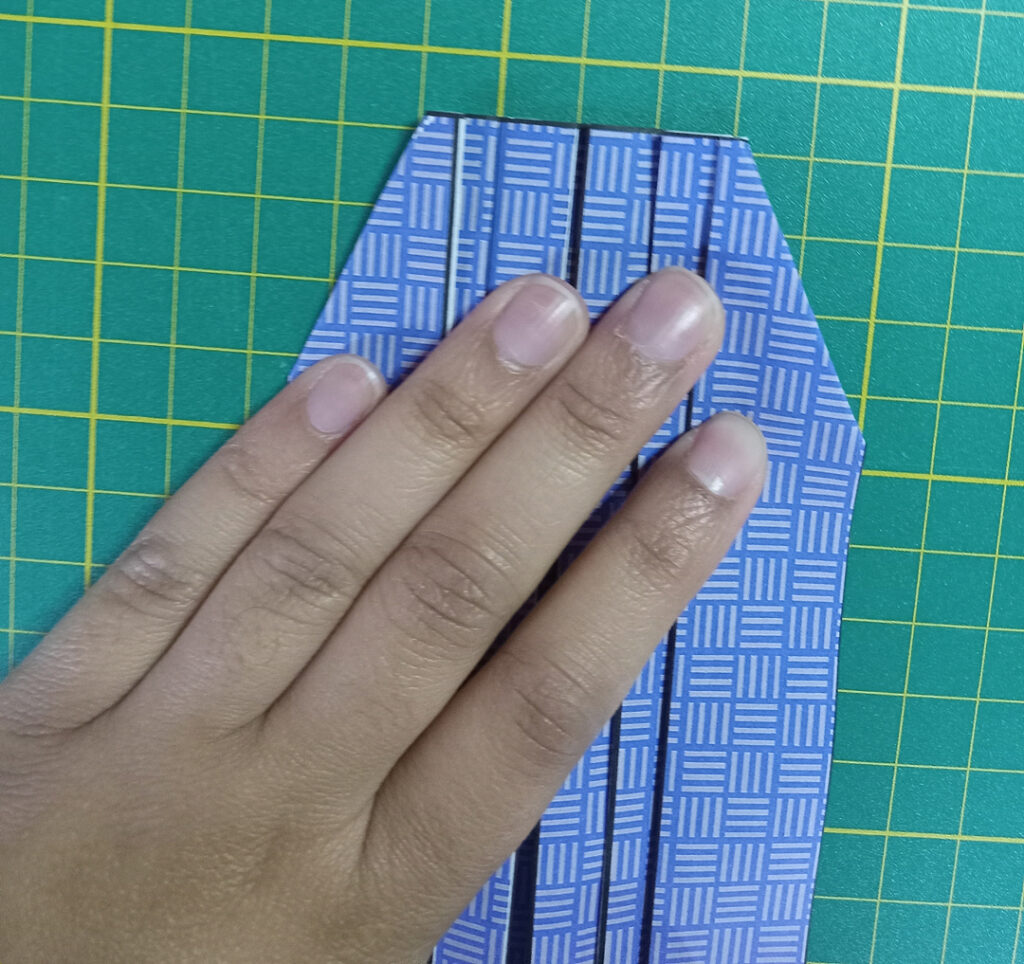
To make the hakama pleats, fold three pleats going in one direction, then fold the pleats in the other direction. The pleats should face each other at the center, giving the illusion of pants in the middle.
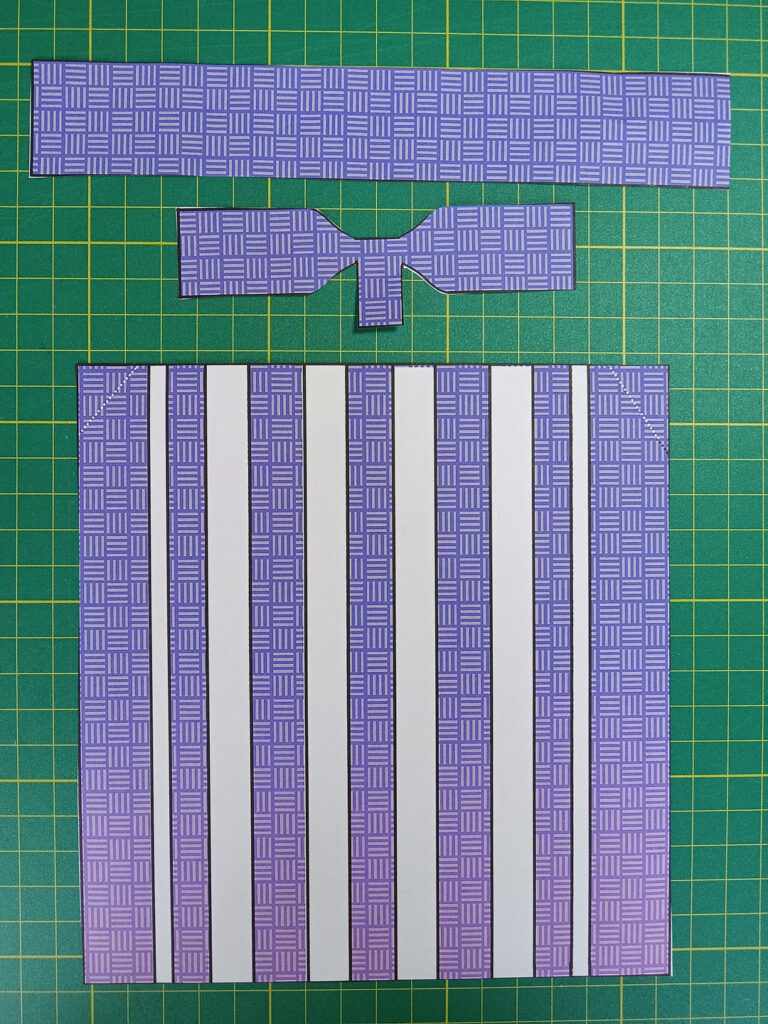

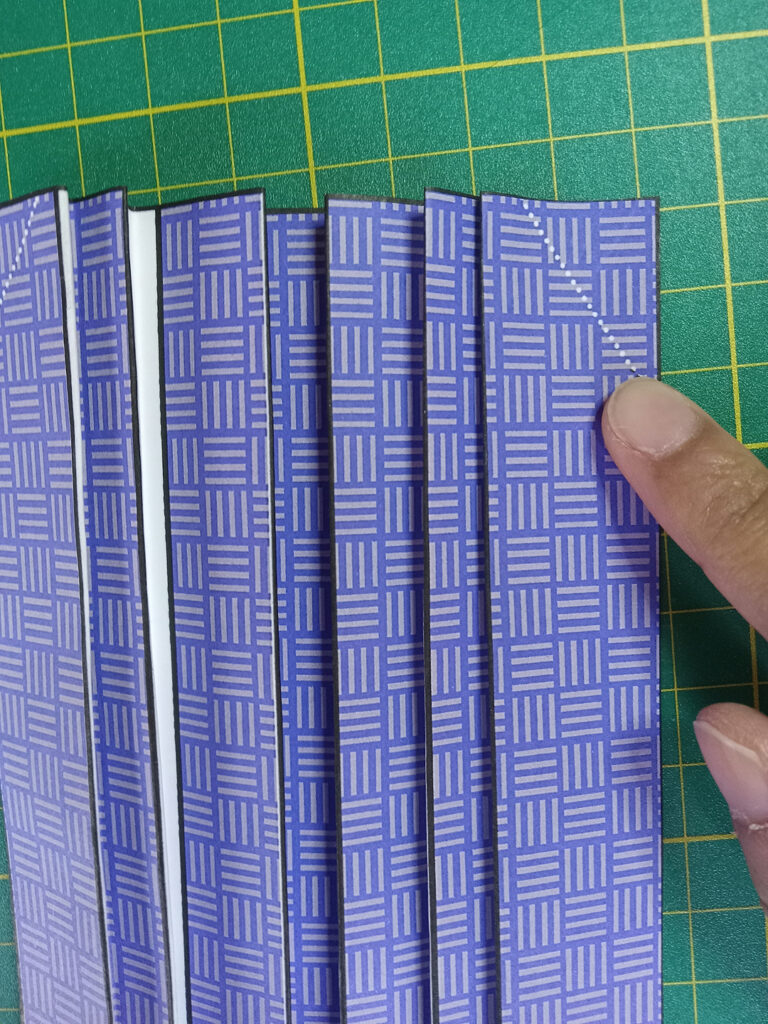
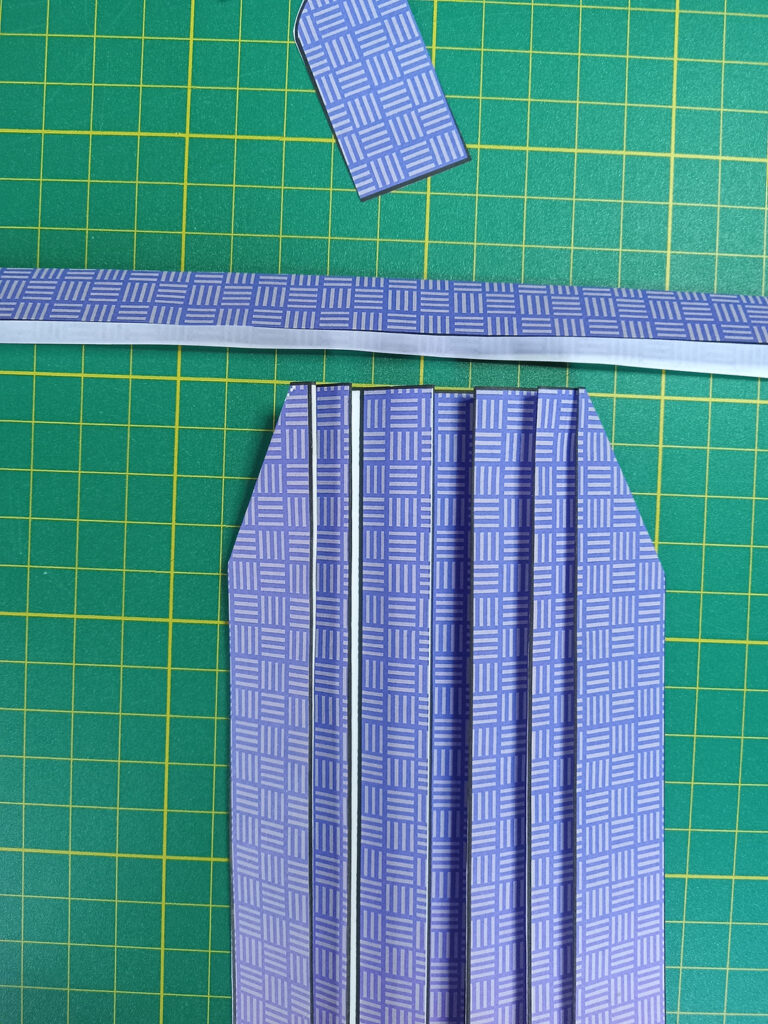

The last parts of the hakama is the waist band and the bow. The waist band rectangle gets folded over and then glued/pasted over the pants. The bow is the cutout shape included on the page–you just need to turn it over to the white side, then fold the middle piece to the front.
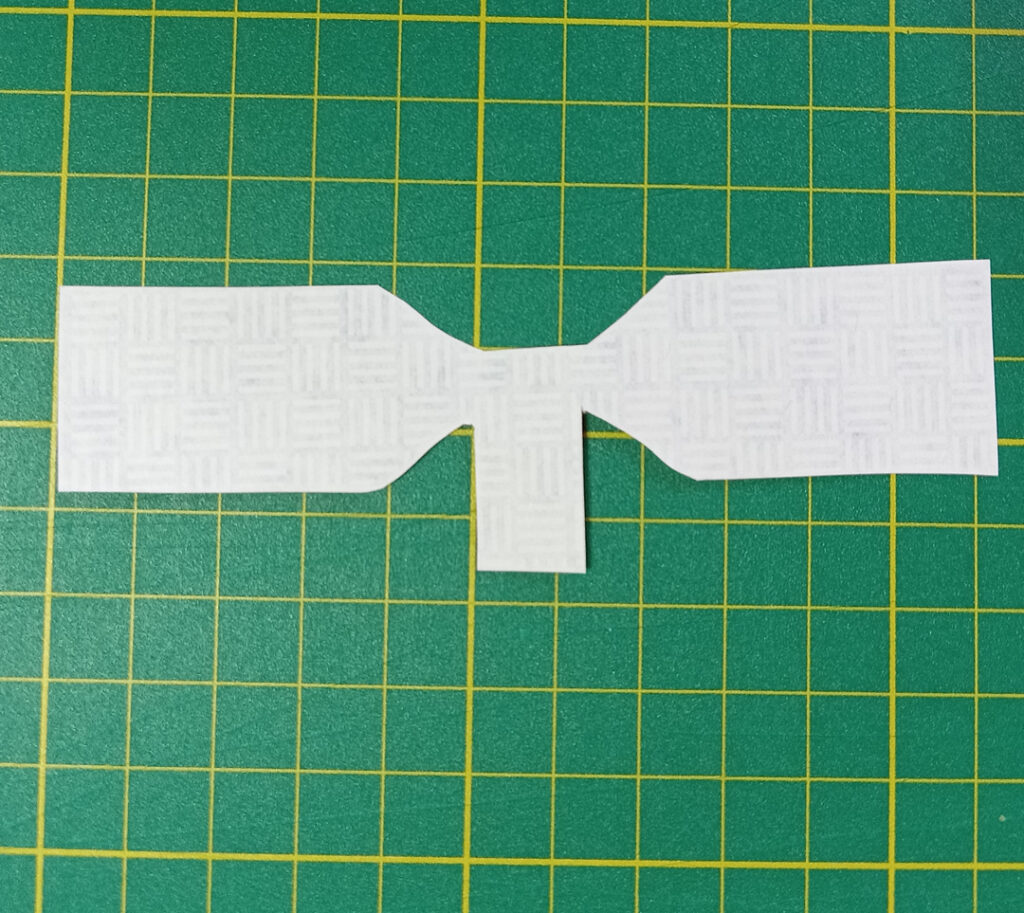
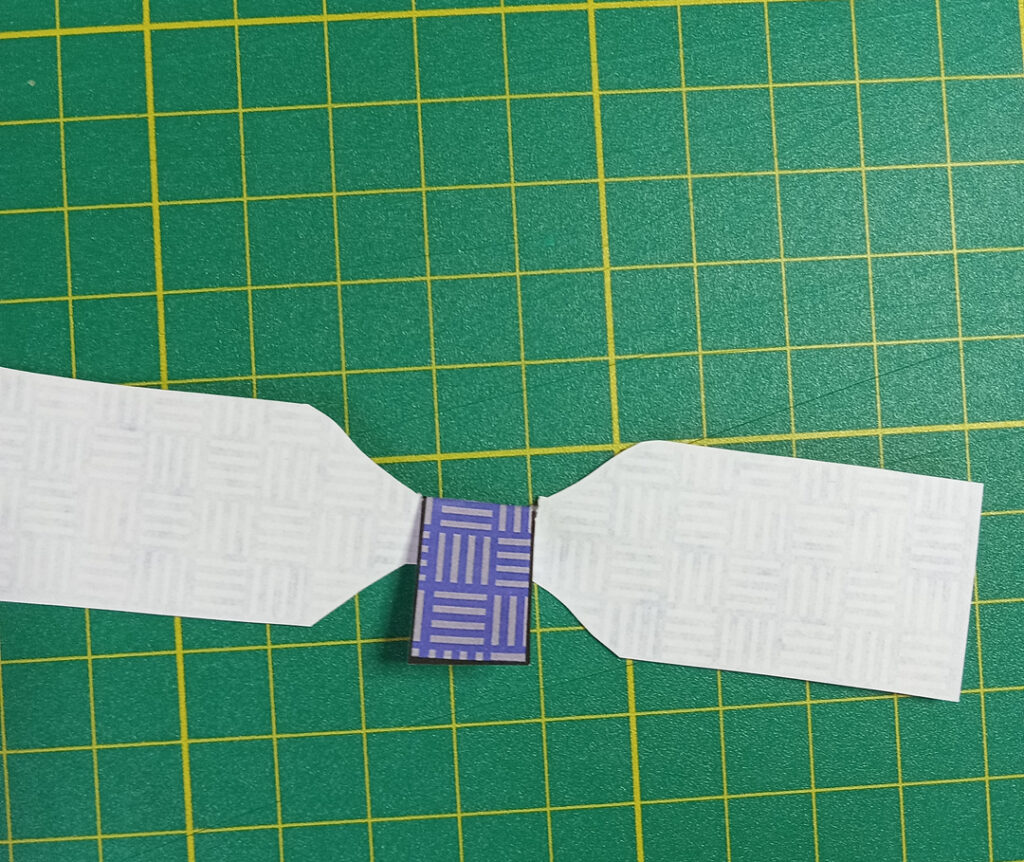
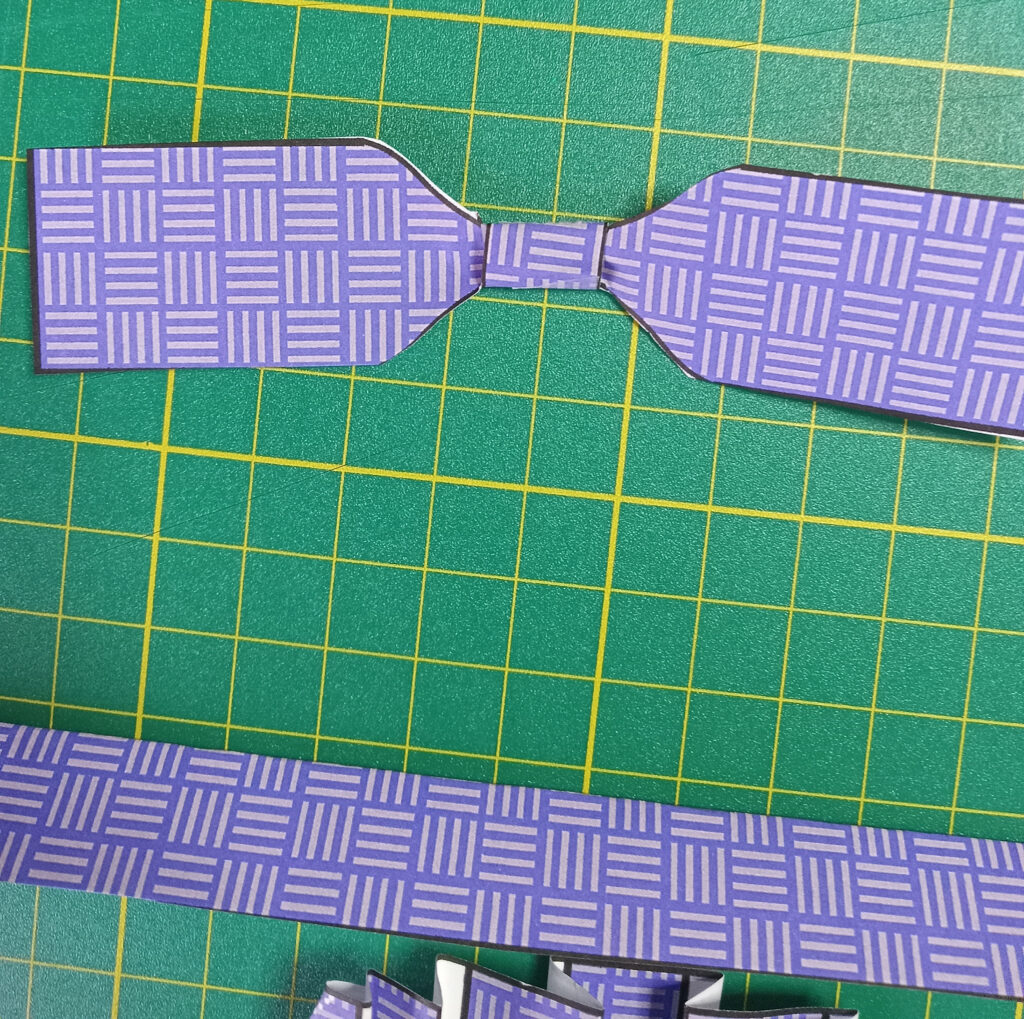
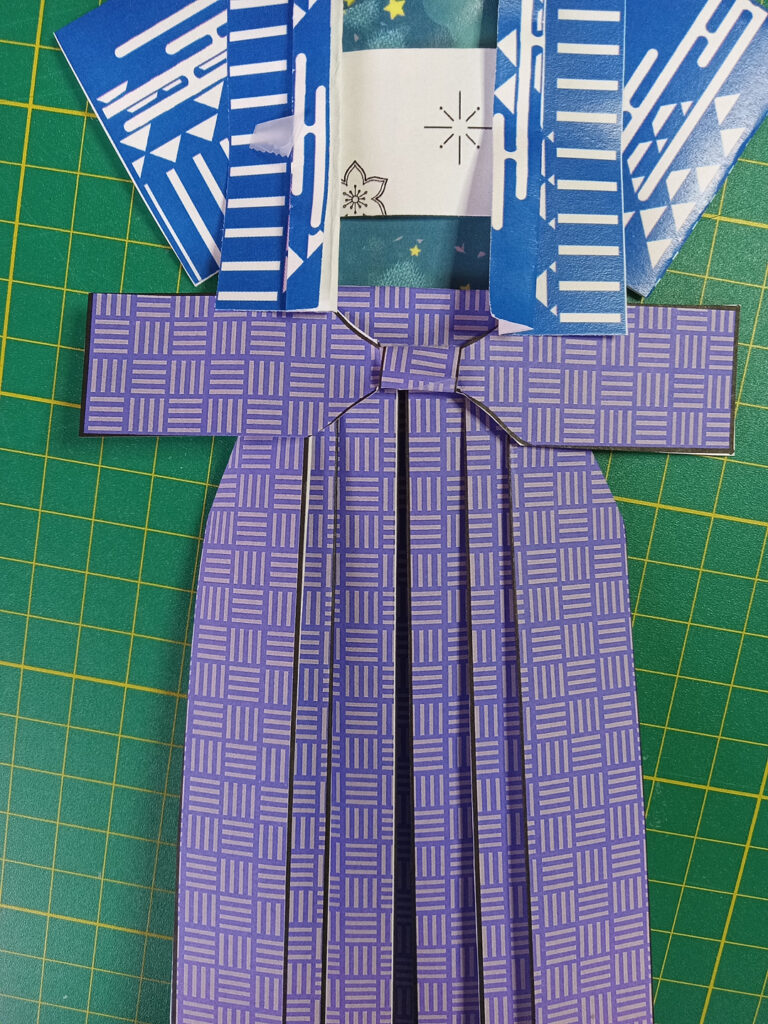

Glue or tape the edge of the bow to the back of the pants. If you cut out the haorihimo (tie) You can glue the it to the center of the jacket.
Download the Patterns
Download the Free Origami Doll Patterns and Kit!
If you'd like to make some origami dolls of your own, feel free get them sent to you via email! The printable files are included in a zip and rar format. Individual images and a pdf version is provided. Happy crafting!
Thank you!
Be sure to check your email! The files should be sent to you! ✨